In this section you will learn how to design a simple label file with fixed and variable objects. The variable objects can obtain values from database.
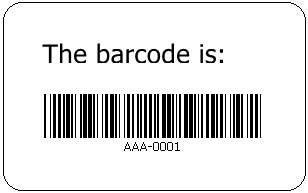
The label you create will look like this:
1. Open the labeling software
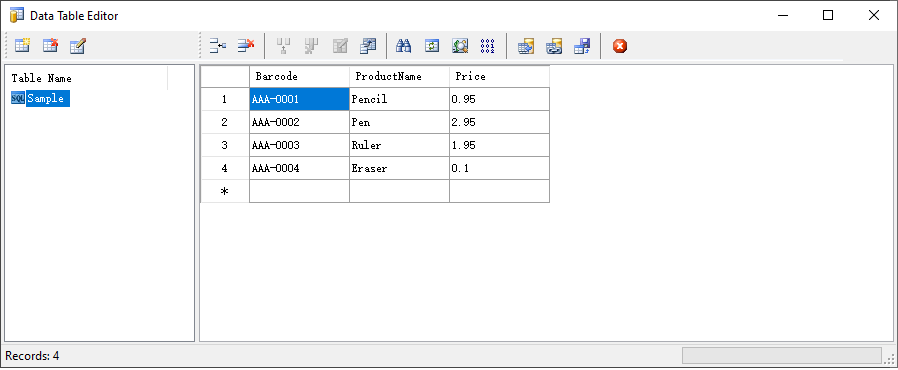
Select Data Table Editor under Tools menu or click on the icon  in the standard toolbar.
Suppose we have created a data table called Sample which contains product names, prices and barcode.
2. Defined the label parameters
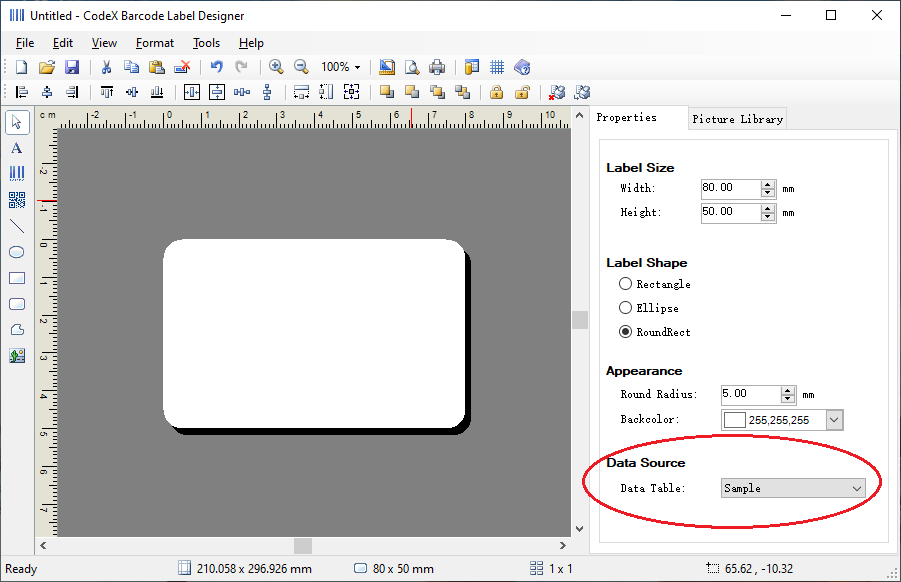
Left click on the blank space of the label, the Properties panel will show the properties of the label.
Here we set the label size to 80 x 50 mm and select the above data table "Sample" as our data source.
3. Define the Page Dimensions
Using Page Setup dialog by clicking on the icon  in the standard toolbar.
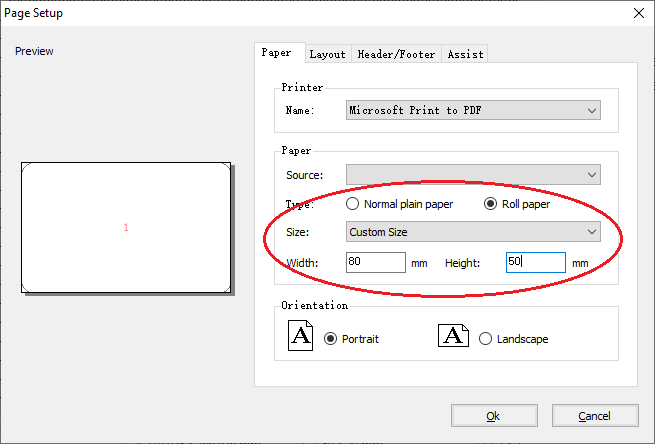
In Paper tab we select the paper type 'Roll paper', 'Custom Size', enter 80 for paper width and 50 for paper height.
In Layout tab we set all margins to 0, both the number of rows and columns are set to 1.
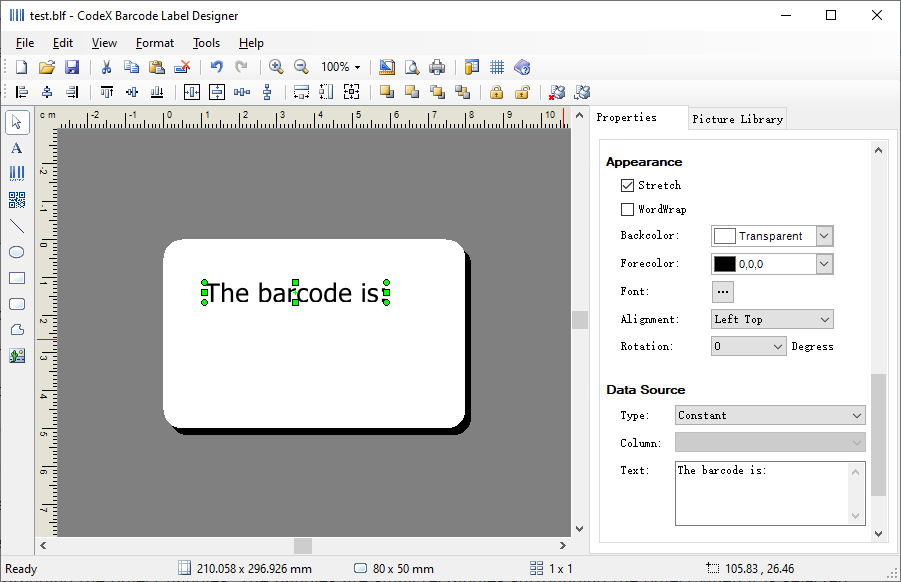
4. Insert non-changing text
Insert a Text object and change its properties in the Object Properties Panel.
Here we enter the text "The barcode is:".
To change the position and size of the text object, select the text object and drag object with your mouse to the position where you want to have it.
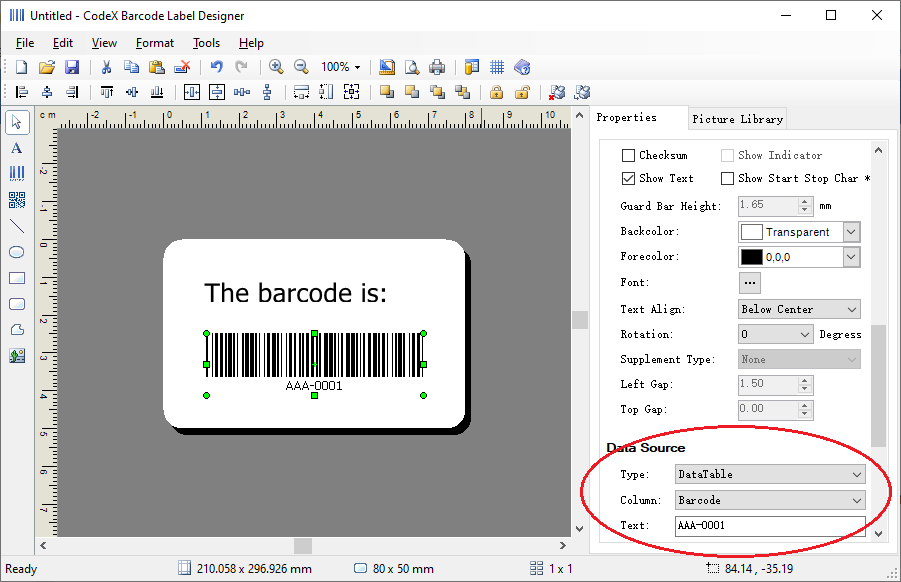
5. Insert variable barcode
Insert a Barcode object and change its properties in the Object Properties Panel.
Here we choose to use the data source type "DataTable" and set the data column to "Barcode".
Change the position of the bar code by selecting the bar code and dragging it to the desired position.
Change the object size by dragging the object handles. The handles are small rectangles surrounding the object when it is selected.
6. Save a Label
Always save your label during the design process. To save a label, please click on the icon  in the standard toolbar.
7. Print labels
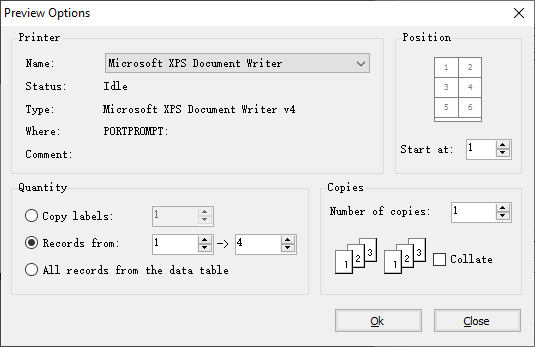
If you want to print a label, you can use the print preview to simulate a print output. The label preview shows the label on the screen.
Click on  icon in the Standard toolbar or select the command
Print Preview in the File menu. The Preview Options dialog box appears.
icon in the Standard toolbar or select the command
Print Preview in the File menu. The Preview Options dialog box appears.
There are two options under the Quantity section in the Preview Options dialog: Records from ... to ... and All records from the data table, both options are available only when you have set the Data Table property of the label in the Properties Panel.
When you are certain that the labels will be printed correctly and the preview shows the correct values, you can proceed to real printing.